Getting carried away with any hobby might be a vice, but you will be master of your vise with these tying tips!
By Joe Solmo
Tying flies isn’t just practical, it’s an art form. Some of the most famous fly tiers can sell their flies for a lot of money. Most people just tie the flies they need to make sure they don’t run out on the river, but whether you are tying for your fly-fishing hobby or for the art in it, there are a few techniques that you will undoubtedly use.
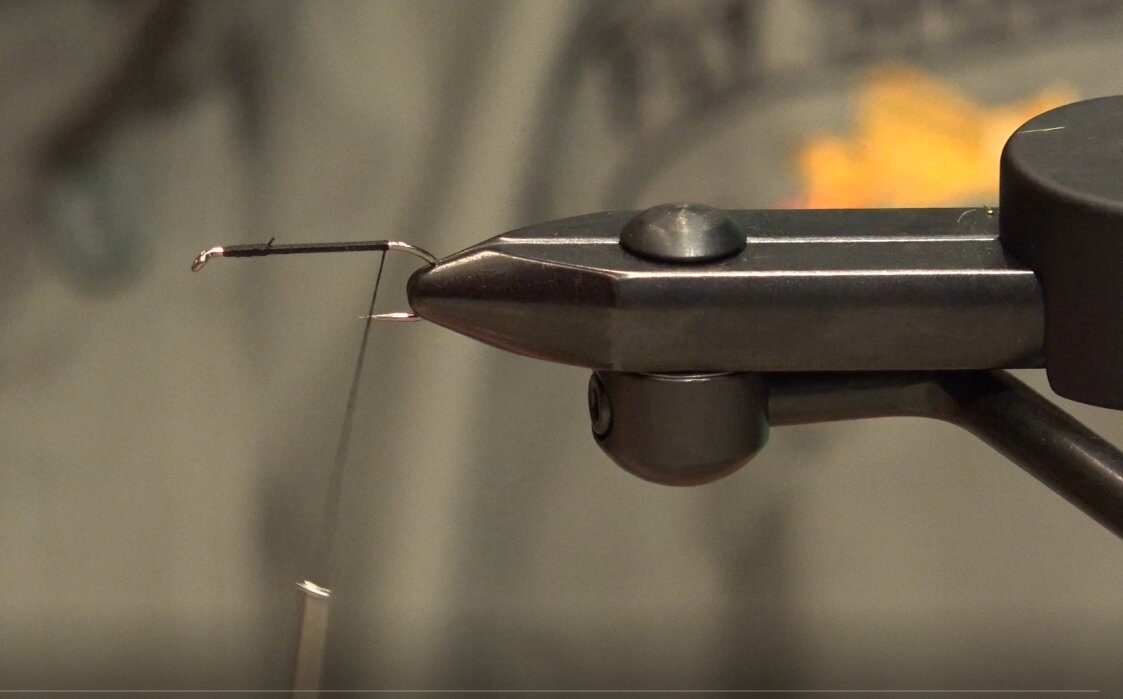
First, we will explain how to get the thread started on the hook. It is the basic first step to almost any fly that you will tie, as it creates a non-slip base for the other materials to be tied too. This technique is called a Jam Knot. This is a simple technique to keep your thread in place on the hook. All you have to do is hold your bobbin at a 45-degree angle to the hook from the eye of the hook. Using the bobbin wrap the thread back onto its self a few times to secure it in place for a few wraps before cutting off the excess tag end. Now the thread is secured to the hook and you can begin with the next step of the fly pattern you are tying. Some patterns will call for the thread to extend around the bend of the hook some, some pay attention to what the pattern calls for. Getting this solid base down is essential to keeping your other materials in place as you tie the fly
The second technique we will mention is the Pinch Wrap. The Pinch wrap is a technique used to keep the material on top of the hook shank, while securing it. To do a pinch wrap, first take the material you want added to the fly and hold it in place by pinching it to the hook shank between your thumb and index finger. Now as you wind the thread from the bobbin with the other hand, roll you thumb finger slightly back to allow the thread to cross over the material, then pinch it back with your thumb, do the same with your index finger as the thread progresses to that side of the hook. As the thread returns to a position below the hook, give it a little tug to tighten down the thread. Repeat this process a few times to make sure the material is secured to the hook.
The next technique is called a Whip Finish. This allows you to tie off the thread at the end of the tying process and clip it off without it becoming unraveled. Using a whip finish tool will make the job a lot easier, although some tiers can use their fingers for this. To use the tool, first grip it in a way that the head can not rotate. Use the hook end to catch the thread then let out some thread from the bobbin and wrap it around the little notch in the bottom of the head of the tool. Now release the ball so that the head of the tool can spin around the eye of the hook. You will want the thread to make a triangle shape. Holding the bobbin horizontally along the shank of the hook, you spin the head, essentially trapping the horizontal thread to the shank. Spin the whip finish a few times, some people say three, some say five, then push it towards the hook until the thread pops off the notch at the bottom of the head of the tool. Tug the thread with the bobbin pulling the tool closer to the hook, once there, slide the point of the tool out from the thread and pull tight.
Lastly, we will explain how to apply dubbing. The trick to applying dubbing to your thread is to take it in small amounts, and tug out one part of it into a strand. It will have fewer fivers near the end and more towards the ball you pulled it from. This will help with creating that taper you want your fly bodies to have. Place the dubbing you stretched out into a noodle behind and against the thread. Now using your pulling back with your thumb and pushing forward with your index finger twist the dubbing. Make sure you only twist it in one direction. Start with light pressure and then put more pressure on it as you go. You should see a nice tapered line of dubbing surrounding the thread. If you run out of dubbing before you finish the body of the fly, just apply more dubbing the thread in the same manner and continue up the shank of the hook.
Well there you are, a few basic techniques that every fly tier should master to tie flies. We showed you how to apply thread to the hook, material to the thread, and how to tie off the thread at the end. Hope this helps! Until next time…
Back to Articles
